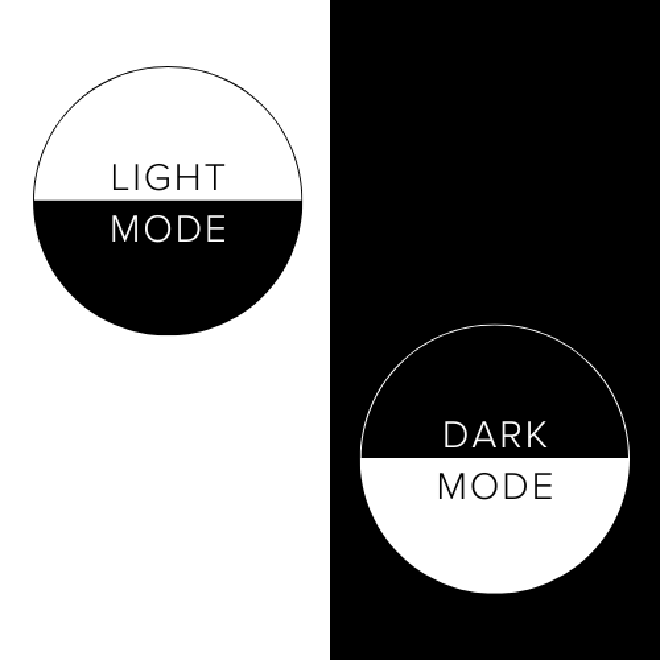
Have you ever been viewing a README on GitHub that blinds you due to a white background when you’re in dark mode? Or had an image that didn’t quite look right in dark mode due to the difference in background colors? Well suffer no more and implement images in your README best suited to the users color scheme.
To achieve this, you’ll need two images - one suitable for display in a light color scheme, and one for dark color schemes.
Next, you’ll want to include the following code in your README:
<picture>
    <source media="(prefers-color-scheme: dark)" srcset="dark-mode-image.png">
    <img alt="Logo" src="light-mode-image.png">
</picture>
In the above code, we’re using a picture element to allow us to display a different image dependent on the users preferred color scheme.
Our source element defines the image we’d like to use for dark mode. The image element is what the README will default to if there is an issue with supporting the picture element, or none of the source tags are applicable. In the example above, we are using the image element to define the image we want to use in light mode and the image we want to be our default image should there be an issue rendering any of the source images.
We could even take this a step further and define images for light and dark mode, and then a seperate image as our default backup image:
<picture>
    <source media="(prefers-color-scheme: dark)" srcset="dark-mode-image.png">
    <source media="(prefers-color-scheme: light)" srcset="light-mode-image.png">
    <img alt="Logo" src="default-rainbow-image.png">
</picture>
And that’s it! Now your README file will read the users preferred color scheme and display an image chosen for that theme.
Want to see an example in action? Check out my example repository below:
You can emulate a color scheme in Chrome by opening the Command Menu (Ctrl + Shift + P or Cmd + Shift + P) and then typing in emulate CSS prefers-color-scheme:dark and then enter.